- walkthrough
- electrical takeoff
- bill of materials
From PDF to BOM in 15 minutes: a takeoff walkthrough
To turn a PDF electrical plan into a bill of materials in TakeOn: check the scale, define count and linear templates, click and measure, export grouped totals.
The TakeOn Team Updated 5 min read

In short: To get from a PDF electrical plan to a bill of materials (BOM) in TakeOn you do four things: upload the PDF and set its scale, define a template for each item you count or measure, click devices and trace runs on the plan, and read — or export — the grouped totals. On a small job such as a residential service upgrade, that loop takes about fifteen minutes, and about five of those are one-time template setup.
Key takeaways
- Scale is the only setup step that matters. TakeOn reads it from the title block on upload; check it, and pick or type the right one if it’s wrong. Scale is set per page.
- A TakeOn template defines an item once — its unit and its custom properties — and is reusable across every project in the workspace.
- Annotations that share a template but differ in property values become separate groups, each with its own live count or length.
- The grouped rollup is the bill of materials. It exports to Excel or CSV with a column per property, and to a marked-up PDF.
The point of TakeOn is that the work flows in a straight line: upload a plan, pick a tool, click and measure, read the BOM. To prove it, here’s a fifteen- minute walkthrough using a real one-line diagram from a residential service upgrade. Nothing fancy — the small jobs are where most contractors actually live.
What you’ll need
- A PDF of a plan (we’ll work from a service upgrade with three sheets — main panel layout, branch circuits, and a single-line diagram).
- About five minutes to set up the templates.
- Ten minutes to do the actual takeoff.
- A browser. That’s the whole stack.
Step 1 — Upload and check the scale (1 minute)
Sign in, hit New project, drop the PDF onto the upload zone. The pages unpack into the side panel with thumbnails that show as soon as the PDF renders. Pick the page you want to start on.
Scale is the only setup step that matters, and most of the time it’s already
done: TakeOn reads each sheet’s number, name and scale off the title block as
it uploads. The scale shows in the status bar at the bottom of the plan. If a
sheet came in without one, or with the wrong one, click it to open Set Page
Scale and pick the drawing’s scale (1/4" = 1', 1/8" = 1', and the other
standard architectural and engineering scales) or type a custom one. Every
measurement from here on reports in feet.
Scale is per page. Detail blowups with their own scale? Draw a boundary around the detail and set the scale just for that region. A sheet that genuinely has no scale — a cover sheet, a riser — can be marked No scale.
Step 2 — Set up your templates (5 minutes)
Templates are the reusable definitions of the things you’ll count and measure. For this walkthrough, three templates cover most of the job:
Receptacle. Count template. Properties: Type (value list:
duplex / GFCI / weather-resistant / USB), Voltage (value list: 120 / 240),
Circuit (sticky text — carries forward to the next placement).
Lighting Fixture. Count template. Properties: Type (value list,
manufacturer-specific), Wattage (number), Mount (value list:
recessed / surface / pendant), Circuit (sticky).
Conduit Run. Linear template. Properties: Size (value list:
1/2” / 3/4” / 1” / 1-1/4”), Type (value list: EMT / Flex / PVC), Wire fill
(text). Conditional: if Type is Flex, the Size value list narrows to
flex-only sizes.
Each template takes a minute. You save them to the workspace and they’re available on every project from now on.
Step 3 — Click and measure (8 minutes)
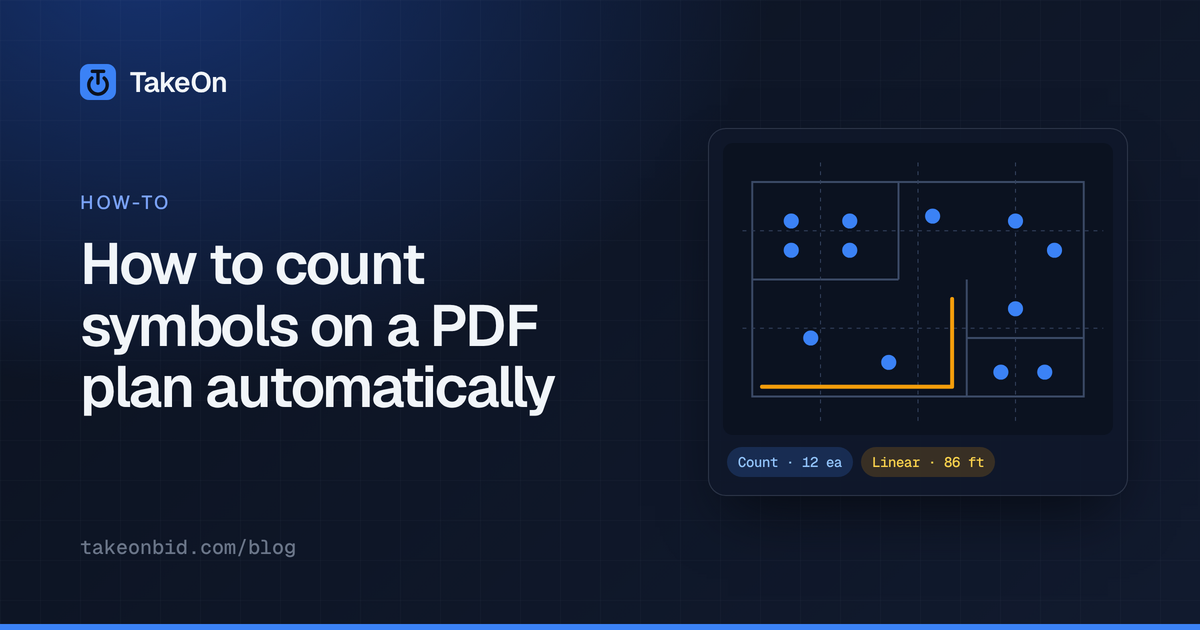
Pick the Receptacle template from the right panel. Click each receptacle on
the floor plan. Every click drops a count annotation with the template’s
current property values. Change the Circuit field once and it sticks for
every subsequent placement — that’s the sticky flag doing its job.
Switch to Lighting Fixture. Same pattern. For the second fixture type, change
the Type property and keep clicking — the rollup panel on the right shows
two groups appear automatically because the templates match but the property
values differ. The count next to each group ticks up live.
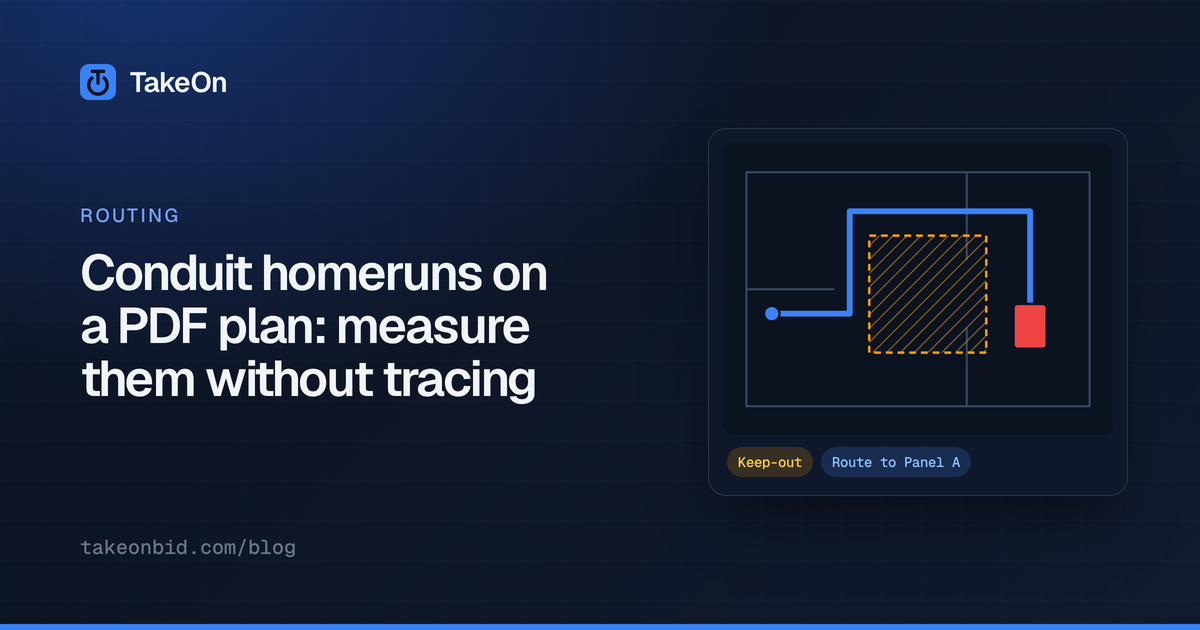
For the conduit, pick the Linear tool and the Conduit Run template. Click the start of the run, click along the path, double-click at the end. If it’s a clean cardinal run, hold the ortho-direct modifier to snap to 8 angles. For typical L-shaped routing across a ceiling, switch to ortho-path mode and TakeOn inserts the corners for you.
When you finish a run, the rollup updates with linear feet. Add a fitting allowance or multiplier on the template if you bid that way; the totals math flows through.
Step 4 — Read the BOM (1 minute)
Open the rollup panel (or the Takeoffs view for the whole project). You’ll see every group: template, property combination, count or length, unit. Sort by template, by property, or by quantity. Filter to a single page or a property value if you want to slice it.
Click any group to see its constituent annotations on the page — useful when something looks off and you want to spot-check.
Export to Excel and you’ve got a spreadsheet with columns for Plan, Name, Qty, Unit, and every custom property — ready to drop into your estimating workbook. Export to PDF and you’ve got the marked-up plan with every annotation composited on the original sheets, ready to email to a GC.
What we skipped
-
Find Similar. For tight-symbol counts (panels, light fixtures across a big floor), drag a box around one and TakeOn stamps every match. We’ll do a separate post on this — it’s worth its own walkthrough.
-
Overlay comparison. When the addenda land, upload the revised plan and overlay it on the old set. Tint each one a different color, drag and lock. Then export against your pre-addendum checkpoint and you’ve got a quantity diff for the change order.
-
Real-time collab. Open the same plan in two browsers and you’ll see each other’s cursors live. Useful for handoffs and training. We’ll cover this in a follow-up.
The point is: the basic loop — upload, check the scale, count, read the BOM — is about as short as we know how to make it. Everything else is a multiplier on top of that.
Schedule a demo and we’ll run it on one of your own plans. Twenty minutes, no slide deck — if it doesn’t click, no harm done.
Frequently asked questions
- How do you do an electrical takeoff from a PDF?
- Upload the PDF, set the page scale, define a template for each thing you count or measure, click each device and trace each run on the plan, then read the grouped totals. In TakeOn those steps happen in one browser tab and the totals update as you click.
- How do you set the scale on a PDF plan in TakeOn?
- TakeOn reads each sheet's scale from its title block on upload. To set or correct one, open Set Page Scale and pick the drawing's architectural or engineering scale, or type a custom scale. Scale is per page, and a boundary can give a detail its own scale.
- What is a takeoff template in TakeOn?
- A template is a reusable definition of something you count or measure, such as a receptacle or a conduit run, with its own custom properties like type, voltage, size and circuit. Templates are saved to the workspace and reused on every project.
- Can TakeOn export a bill of materials to Excel?
- Yes. TakeOn exports takeoff totals to Excel and CSV with columns for plan, name, quantity, unit and every custom property, and exports a marked-up PDF of the annotated sheets.
- What does sticky mean on a TakeOn property?
- A sticky property keeps its last value for the next placement. Set Circuit to L-1 once and every following count carries L-1 until you change it.